

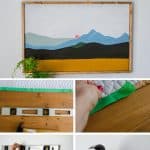
How To Easily Hang A Picture With Two Hooks

This life hack volition blow your mind! It's the easiest trick ever to hang a pic in drywall – fifty-fifty when it has two hangers on the back!
I was across excited when I discovered this super like shooting fish in a barrel fox to picture hanging
That life hack works bang-up for a picture with one hanger on the back. Just, what nigh larger pictures with two hangers spaced far apart? I used to groan when I found the perfect art, but saw it had the dreaded two sawtooth hangers hanging organisation.
Well, let me tell y'all. I was over the moon excited when I discovered a handy smashing trick for them, too! No more than measuring and measuring only to take ane nail slightly out of place! (Grrr….)
Let me tell you lot, this trick will save you tons of time and frustration!

The Easiest Way Ever to Hang a Picture in Drywall (when it has 2 hangers on the back)
Disclosure: This post contains affiliate links for your shopping convenience.
Supplies Y'all'll Demand:
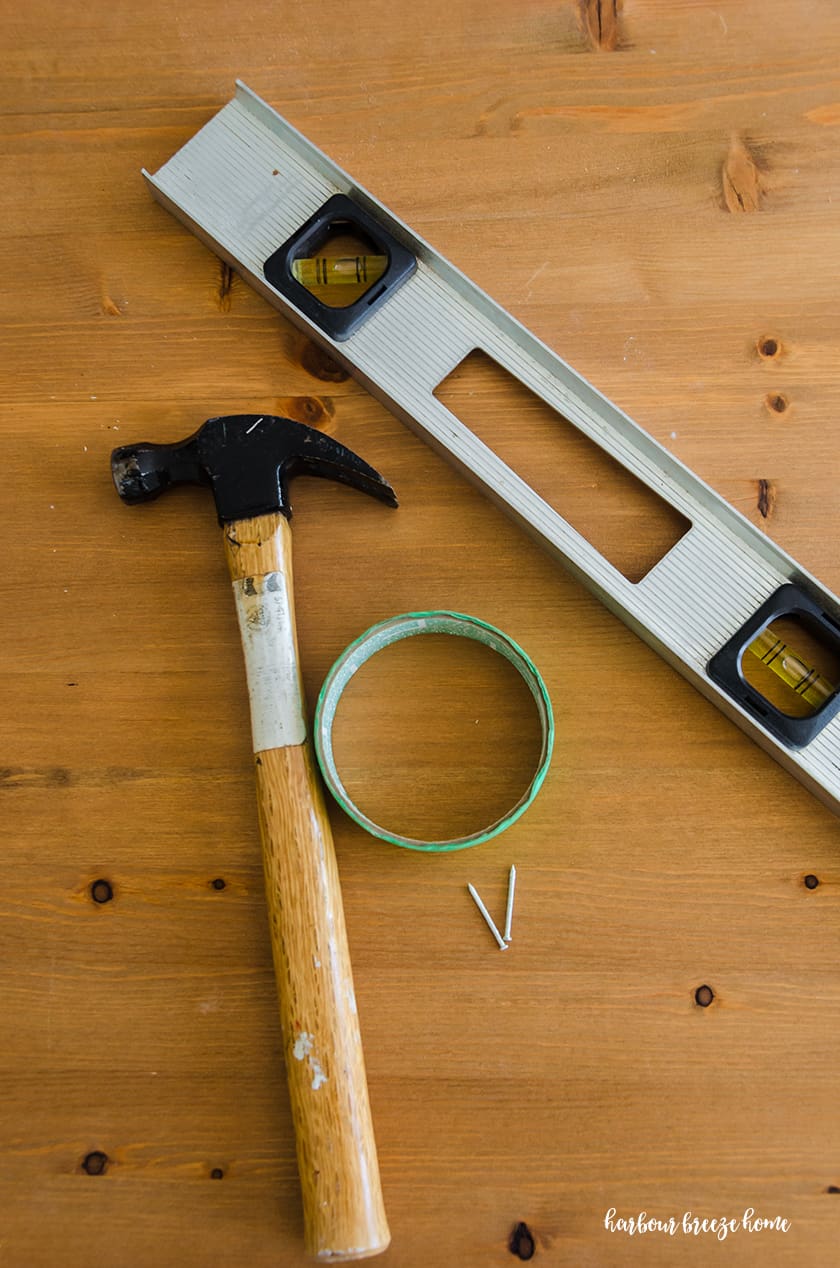
- Painters Record (This is similar to what I use.
- 2 nails (These 1 inch white panel nails are my accented favorite for hanging virtually all pictures in our house.)
- Level
- Hammer
- Pencil
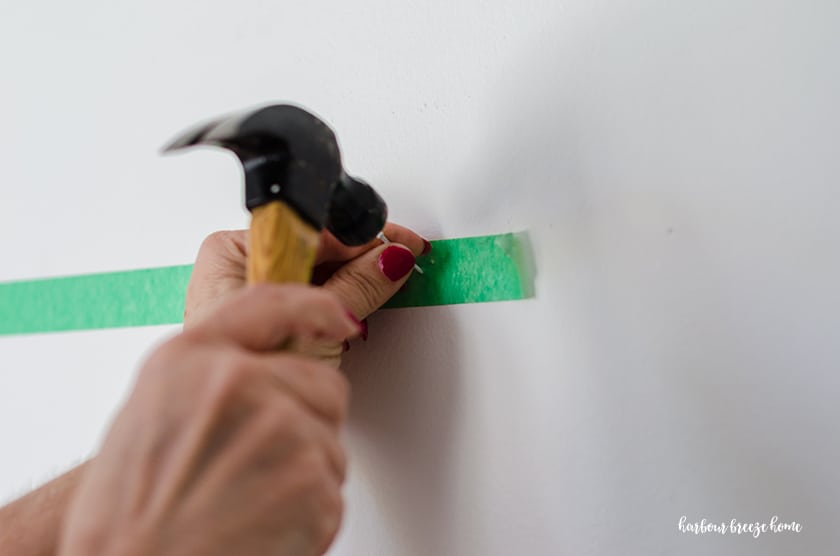
Footstep one: Position a piece of painters tape across the superlative of the frame, covering the sawtooth hangers.

Brand sure information technology is straight with the top edge of the picture.
Step 2: Using a nail, poke a hole where you lot would like the nails to exist positioned on the hangers.
I utilise the exact center of each saw-molar hanger. (Y'all tin see the holes I poked into the painters tape in the picture above.)
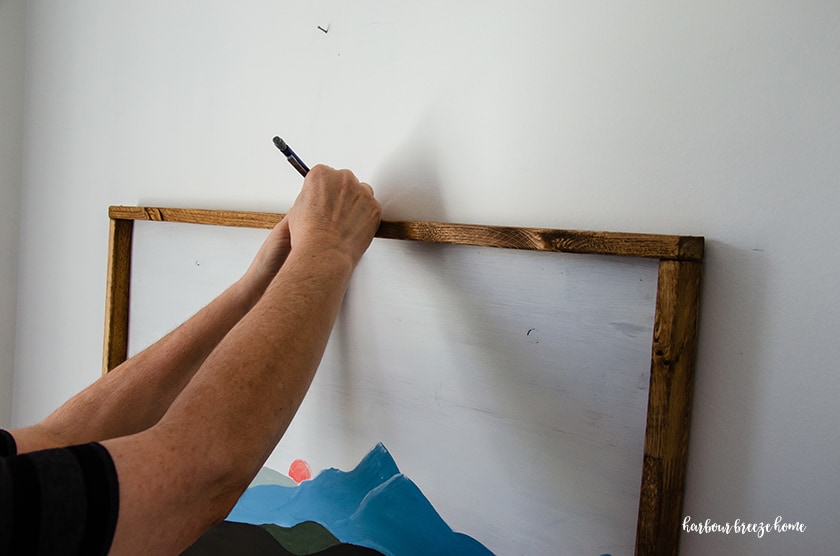
Pace iii: Detect the center of the moving-picture show and center of the painters record, and mark information technology with a pencil.
Hold the picture up to the wall at the height you lot desire, and lightly mark the center indicate on the wall with your pencil.
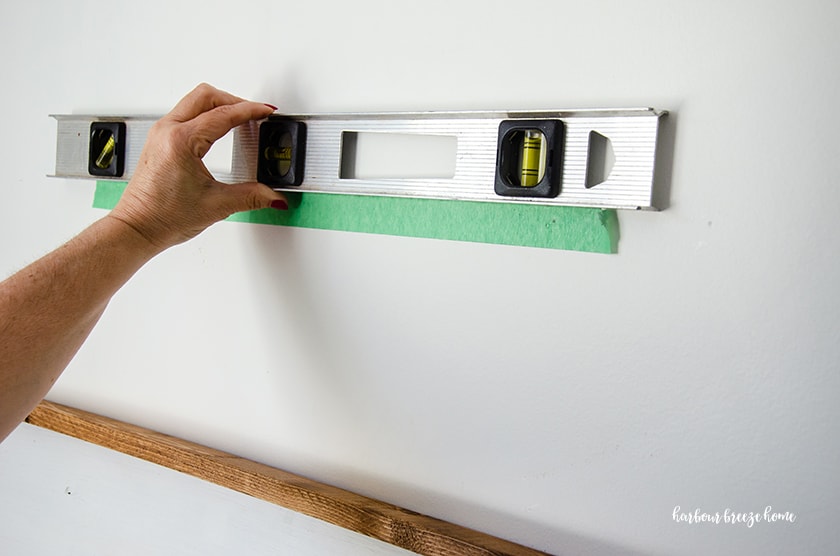
Step iv: Remove the painters tape from the back of the picture and lucifer up the center with the heart marker you just placed on the wall.
Use a level to ensure the painters record is straight and level.
Step 5: Nail a 1 inch panel nail into each hole you lot created in the painters tape.
**Important Notation: If the flick or object you lot're hanging is heavy, y'all will need to use a sturdier fastening system than these one inch nails. For heavy objects in drywall, I recommend using a drywall anchor and screw system.
Step 6: Remove the tape from the wall and hang up your picture!
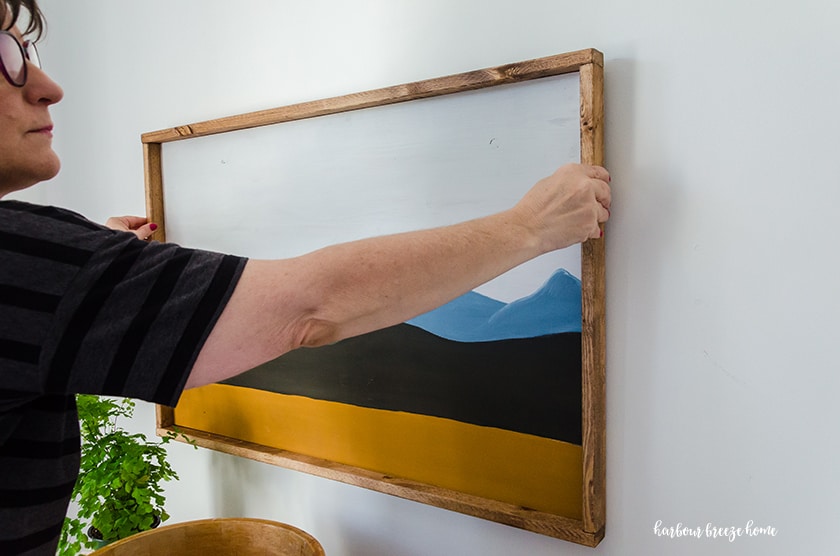
Yous will exist amazed how quick and easy this method is for hanging large art with two hangers on the back!
DIY Big Wall Art:
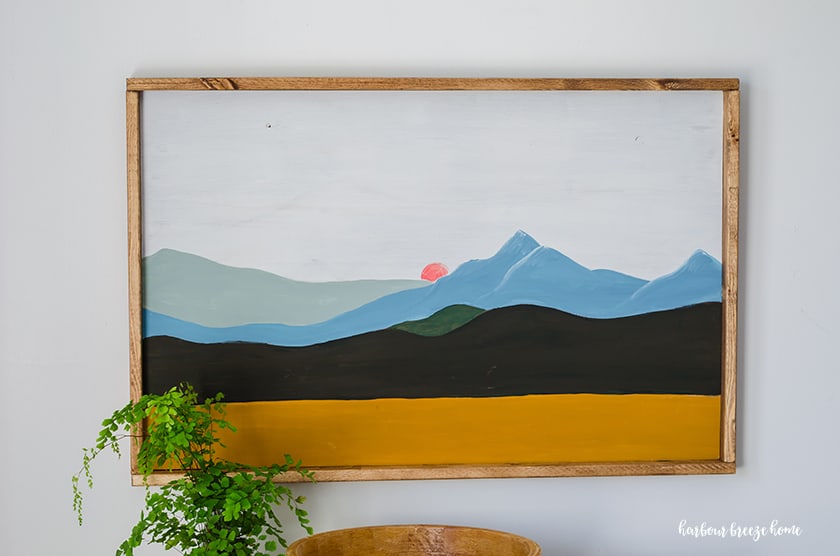
The picture that I hung as an example hither is office of our Master Bedroom makeover that nosotros're working on. Information technology'due south actually a really easy DIY artwork project that I'll requite you all the details for soon. Simply, in the meantime, here are another DIY large wall art ideas that might involvement you:
- Free Printable Big Watercolor Art Print
- Engineer Print Art
- How to Mount Photos on Cream Board
- DIY Photo Frame for Prints or Posters
For more ideas for your home:
Be sure to sign up for my weekly newsletter for more DIYS, recipes, and home decor on a budget. Just click the button below to accept it delivered right to your inbox!

Source: https://www.harbourbreezehome.com/hang-a-picture-in-drywall/
0 Response to "How To Easily Hang A Picture With Two Hooks"
Post a Comment